| Beauty
✨ Let’s get into it ✨
💡 TLDR
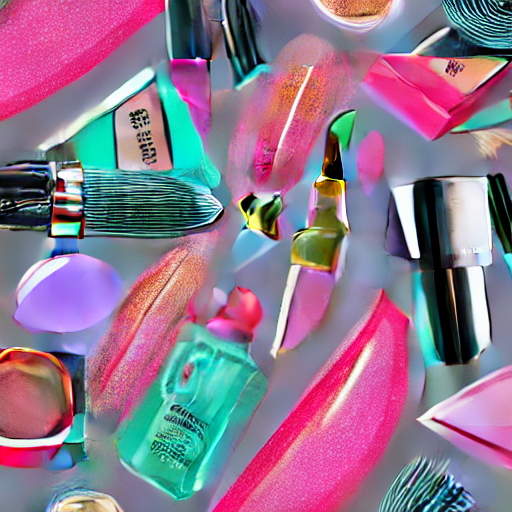
Okay so like, if your nails are looking like a million bucks but you only spent $15 on polish, you’re doing it right. The chicest people I know aren’t just wearing one color—they’re mixing and matchin…
Okay so like, if your nails are looking like a million bucks but you only spent $15 on polish, you’re doing it right. The chicest people I know aren’t just wearing one color—they’re mixing and matching like they’re styling a Pinterest board. Nail layering is the secret to that “I got a $500 mani but I’m still buying coffee” vibe. And honestly, it’s way easier than you think. Just grab a few shades, stack ’em, and voilà—your nails are basically a custom-made luxury handbag.
The OG combo? OPI’s Bubble Bath and Funny Bunny. It’s like the ultimate pink milky dream, and it’s so universally flattering you could wear it to a boardroom or a brunch date. Pro tip: Paint two coats of Funny Bunny first, then finish with Bubble Bath for that glossy, salon-grade finish. But don’t stop there—there’s so many more ways to play. For a softer look, try OPI Put It In Neutral with Bare My Soul. It’s like a spa day in a bottle, giving you that soapy, fresh-out-of-the-shower finish.
If you’re into shimmer, Manucurist’s Active Smoothbase + Active Plump is your new obsession. The base acts like a tinted moisturizer, and the plump polish adds a barely-there sparkle that’s so pretty it’ll make your fingers the star of the room. And hey, if you’re a fan of French manicures, OPI’s Funny Bunny paired with Alpine Snow is the ultimate low-effort, high-style combo. It’s like a milky pink base with crisp white tips—so chic, so easy.
Key points: Layer sheer shades first for a soft, milky finish. Don’t skip the base coat—it’s your secret weapon for even color. Shimmer? Add it sparingly for that “I’m basically a glittery goddess” effect.
💫 Drop your fave in the comments—let’s make this the most stylish thread ever.
What’s your go-to nail combo for when you want to look like you just stepped out of a luxury spa? Drop your fave in the comments—let’s make this the most stylish thread ever.
❓ People Also Ask
How do I layer nail colours for a rich look?
Layer opaque base, semi-transparent middle, and glossy top. Use a base coat, then build with different shades for depth and dimension. Finish with a clear top coat for shine and longevity.
What tools are needed for nail layering?
Base coat, nail file, buffer, dotting tool, brush, and clear top coat. Use a dotting tool for texture and brushes for precise colour application. A buffer helps shape and smooth the nails.
💬 What do you think? Let us know in the comments! 👇